
In Kandern there is one day a year where the residents are allowed to put their unwanted household items on the curb for the city to pick up and take to the dump. This day is called Sperrmüll. It happened on February 27th and I scored quite a few treasures thanks to the hubs. One of those treasures is this tray.

Ok, so she doesn't look like a treasure with those unsightly flowers but with a little paint and tape she became one.
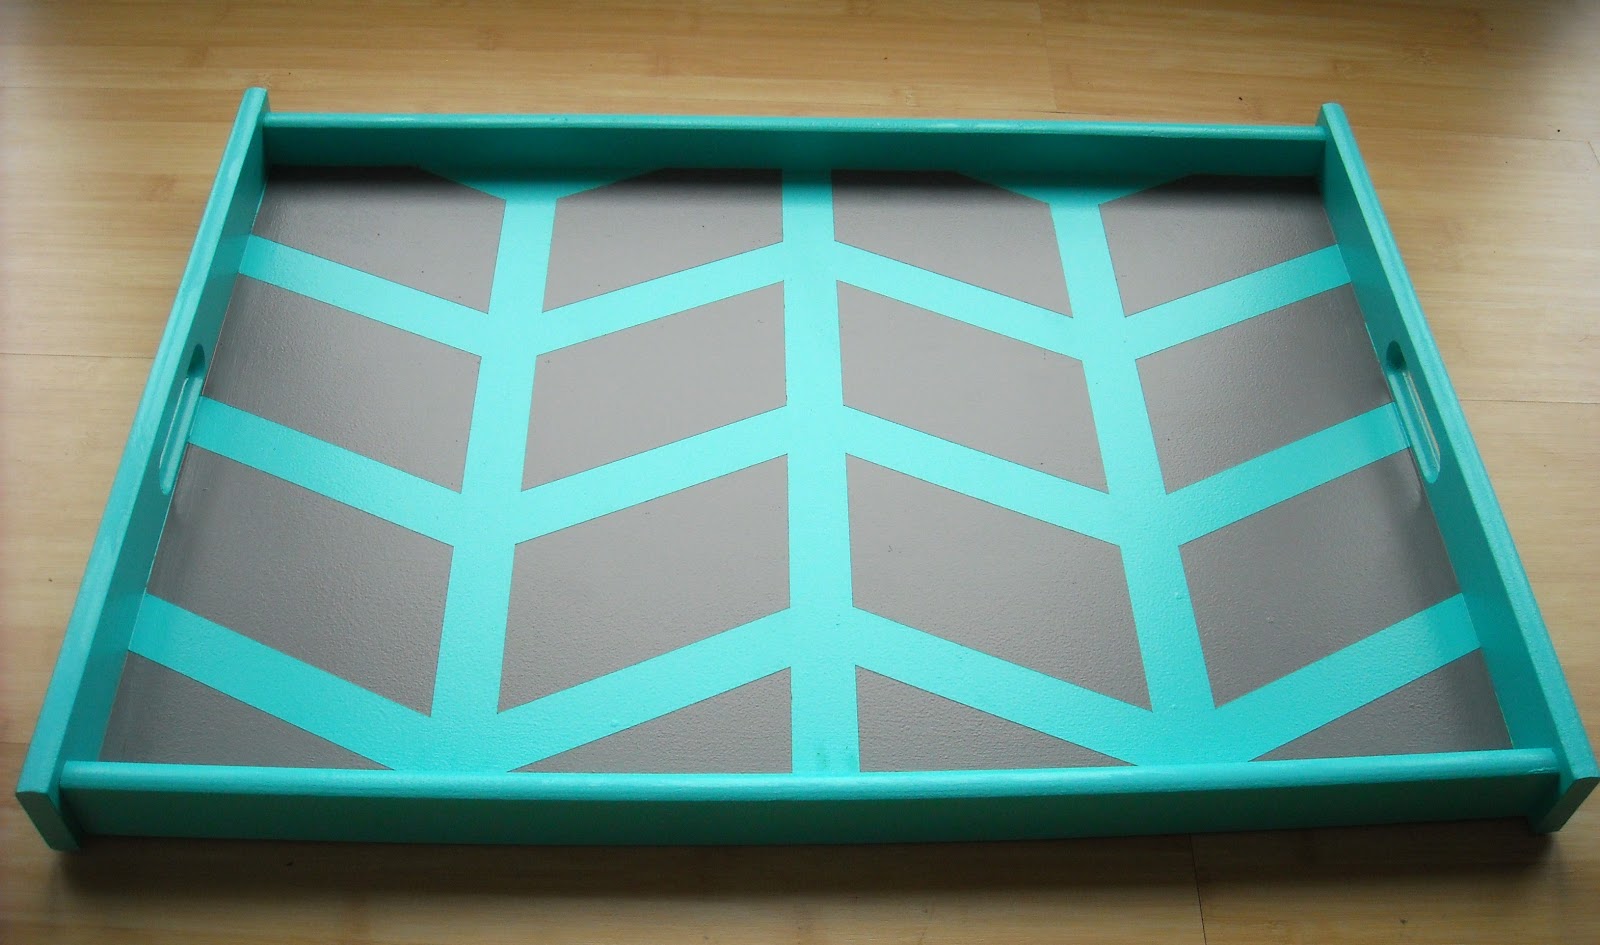
I have been wanting to try a herringbone design but I felt a little intimidated by the need for measuring and precise symmetry. With a small item like this tray, the task seemed less daunting. So, I gave it a go.

The taping part of this project took me about an hour and a half. I used the advice from this tutorial at Design*Sponge to help me with the process. After all the taping was done, I sealed the tape by running over it with the edge of my credit card and painting over the edges of the tape with the base color, turquoise. Once that was dry, I painted the first coat of grey and it took 2 more light coats. There was a little bleeding under the tape once it was removed. However, those spots were easily touched up with a small paintbrush.

The time spent with measuring and taping to get this symmetry was well worth it.
Also, something new for me since I've moved to Germany is using acrylic paint instead of latex. I've been testing it on a few different projects and I find that it's easy to work with. The only con with acrylic is if you apply more than 2 coats, it starts to get really bumpy. Sanding between coats has become a must and I hate sanding. However, the pro is that the worker at the local paint shop said no protective top coat is needed on furniture as long as you prime the furniture before applying the acrylic. I'm skeptical about this tip but I'm testing it on a chair now. We will see.
Here are the Before & After shots:

Enjoy!


